

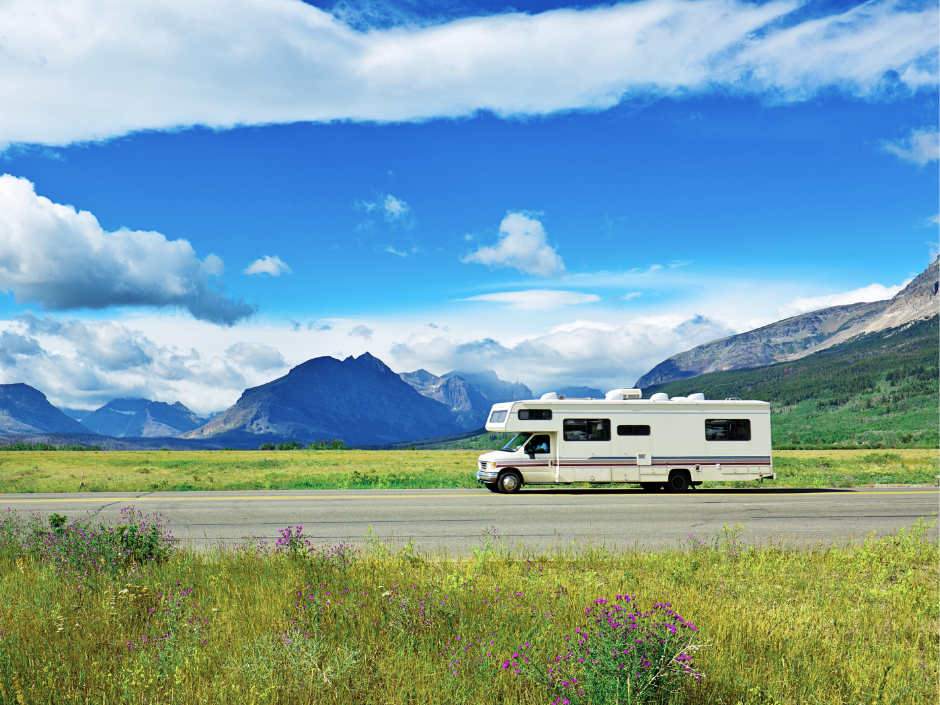
As winter melts away and signs of spring pop up, it’s the perfect time to get your RV road-ready. De-winterizing your rig is one of the most important steps to ensure safe, smooth travels ahead. In this guide, we’ll walk you through how to de-winterize your RV—from flushing your water system to checking your RVLock handle—so you can start the season off right.
Step 1: Do a Thorough Exterior Inspection
Before diving into plumbing or appliances, start with a full walkaround of your rig. Look for any damage that may have occurred during storage.
Checklist:
-
✅ Inspect roof, windows, and doors for cracks or leaks
-
✅ Check tire pressure and tread wear
-
✅ Look for rust or corrosion on hinges and metal components
-
✅ Make sure slide-outs extend and retract smoothly
-
✅ Check your RVLock handle for wear, battery life, or debris buildup
View our guide to getting your RVLock handle spring-ready
Step 2: Sanitize Your RV Water System
If you used antifreeze during winterization, it’s time to flush that out and sanitize your freshwater system.
What You’ll Need:
-
RV-safe sanitizer (or a diluted bleach solution)
-
Fresh water supply
How to Sanitize:
-
Drain any remaining antifreeze from your plumbing lines.
-
Fill your fresh water tank with the sanitizer solution.
-
Open all faucets (hot and cold) to circulate the solution through the system.
-
Let it sit for at least 4–6 hours, then flush thoroughly with clean water.
👉 Need a more detailed walkthrough? Read our full RV water system sanitizing guide
Step 3: Test All Appliances & Systems
Now’s the time to make sure everything works before your first trip.
Test the Following:
-
Refrigerator and freezer
-
Stove and oven
-
Furnace and air conditioner
-
Microwave
-
Water heater
-
Interior and exterior lights
-
Outlets and power systems (check your batteries too!)
Tip: Plug into shore power or run your generator briefly to verify electrical components are functioning properly.
Step 4: Inspect Seals & Seams
Spring rains can sneak in through weak seals, so now’s the time to reseal if needed.
Inspect:
-
Roof seams and skylights
-
Window and door frames
-
Vents and slide-out seals
If you notice any cracking or peeling, apply RV-safe sealant or caulk. This small step can prevent expensive water damage later.
Bonus Step: Prep Your RVLock for the Road
Don’t forget about your keyless RV handle—your first line of security.
Check the following:
-
Battery levels by testing your keypad
-
Ensure the FOB is working and that the connection switch on the inside of your RVLock handle is turned to “ON”
-
Lubricate moving parts if needed with white lithium grease
-
Wipe down the entire handle with a barely damp towel - no power-washing!
-
Ensure the locking mechanism is fully functional by turning the red lever or using your keys
👉 Check out our full spring tune-up guide for your RVLock handle
Step 5: Stock Up & Do a Final Safety Check
You’re almost ready to roll—just a few last-minute tasks:
Don’t forget to:
-
Refill propane tanks
-
Restock basic supplies like toilet paper, first-aid items, and food
-
Check the fire extinguisher and smoke/CO2 detectors
-
Review your RV insurance and registration
Ready for Spring Adventures?
By taking time now to de-winterize your RV properly, you’ll set yourself up for a season of smooth travels and fewer surprises. Whether you’re heading for the mountains, the coast, or a desert escape, your rig will be in great shape to take on whatever adventures lie ahead.
Looking for more ways to get inspired? Don’t miss these helpful reads:
Let us know where you're headed this spring—and as always…
See you on the road! 🚐
Share:
How to Properly Flush and Sanitize Your RV Water System
How To De-Winterize Your RVLock